10. Avoid Mixed Manufacturing Processes
Minimize the use of mixed manufacturing processes whenever possible. For example, if you use through-hole components, place all such components on the same side of the board to reduce PCB manufacturing and assembly costs and time.
11. Select Appropriate Component Sizes
Carefully review components used in the design during early layout stages. If sufficient PCB space exists and the current design doesn't require smaller packages, opt for larger components to facilitate PCB assembly.
For example: Use 0402 resistors whenever possible instead of 0201 resistors. If 0805 resistors meet all requirements, avoid selecting 1206 resistors to reduce PCB size.
12. Source Components with Suitable Lead Times
As previously noted, component availability can cause significant delays. Verify stock levels, lead times, and discontinuation status during the design phase using various electronic component websites.
13. Maintain an up-to-date BOM during design
The Bill of Materials (BOM) is critical for both design and assembly.
Any issues in your BOM will cause the PCB manufacturer to pause the project until resolved with your engineer.
One method to ensure BOM accuracy is to review it whenever design changes occur.
When adding new components to the schematic during layout, ensure the BOM is updated with the correct part numbers, descriptions, and component values.
During design, engineers may substitute components due to lead time, size, or availability without updating the BOM with new part numbers. This can cause assembly issues and delays.
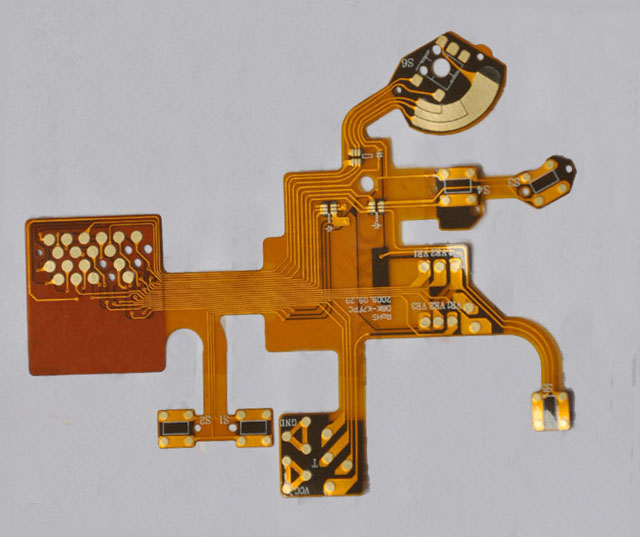
14. Verify Component Footprint
Component footprint is another critical aspect of layout design.
Correctly using the number keys in datasheets to identify the right part and its pad pattern is essential. Misreading datasheets can result in incorrect footprints, potentially requiring a complete PCB redesign and remolding.
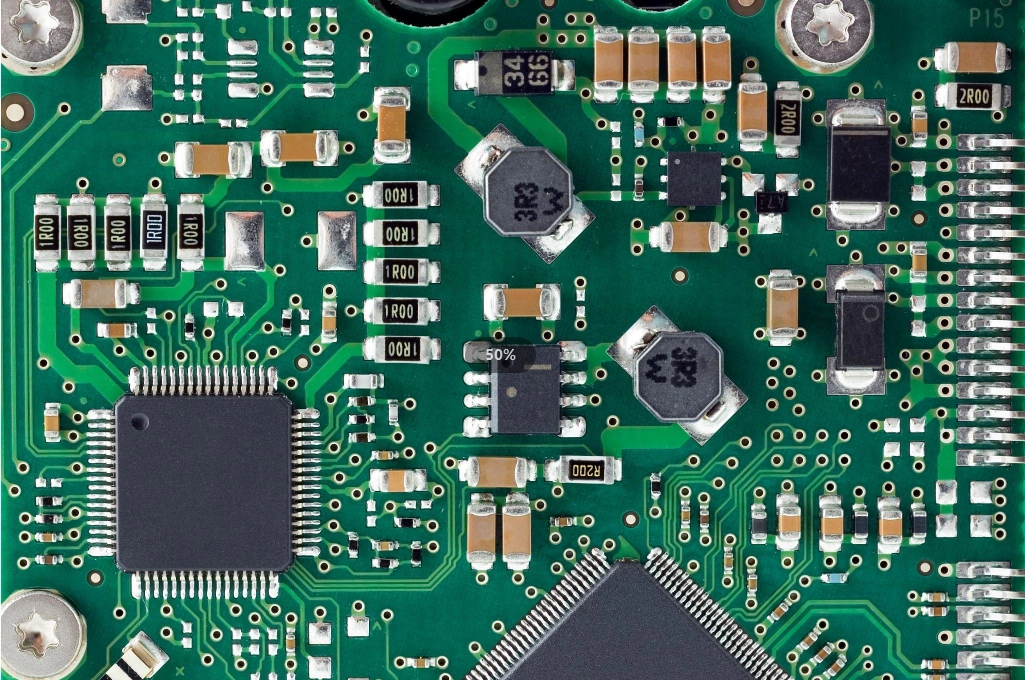
15. Ensure All Component Markings Are Present
A major display stopper in assembly is missing pin 1 indicators or component polarity/orientation indicators on the silk screen. Nearly 75% of assembly orders received by my factory fail to identify the pin 1 location for each IC, or they distort or omit polarity indicators for certain capacitors, diodes, or LEDs.
Best practice to avoid assembly issues: Consult with the PCB manufacturer before design begins.
Adhere to conventions for marking diode polarity, including LEDs: Place a K on the silkscreen layer at the cathode end. Alternatively, use correctly oriented diode electrical symbols to guide assembly.
Never indicate diode polarity based on the anode pad. Use K to designate the cathode or position the diode symbol correctly. Do not substitute any other markings, or the PCB factory will not understand your intent.
To identify the tantalum capacitor orientation, mark the positive terminal with a plus sign (+) in the silkscreen. Remember, installing tantalum capacitors with reversed polarity may cause ignition. Unless reverse-engineered from the schematic, PCB manufacturers cannot determine component polarity unless clearly indicated.
Silkscreen printing must not interfere with pads, and symbols must not be printed beneath any component body.
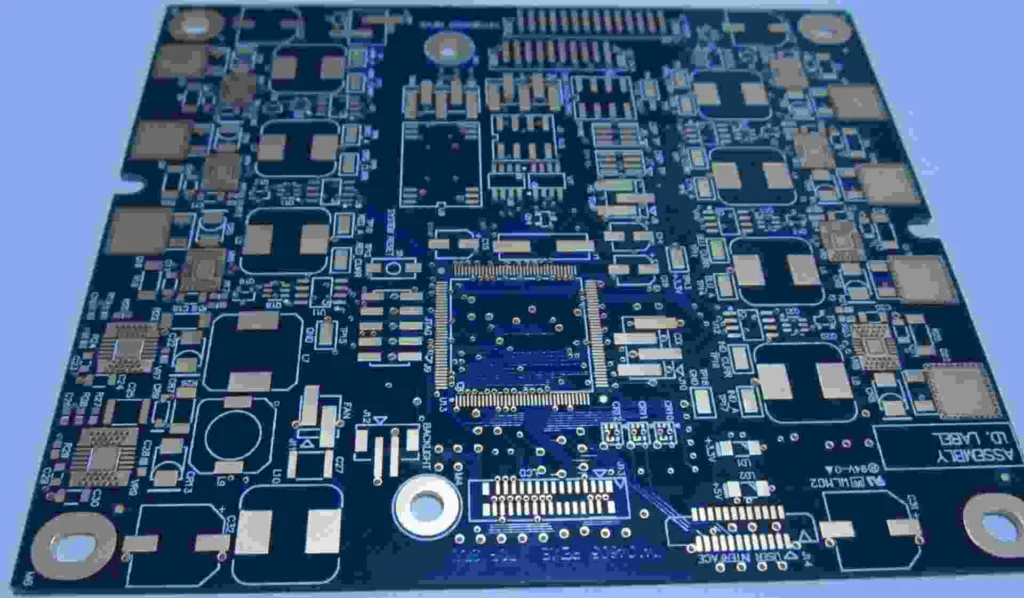
16. Each connection for every component must have its own dedicated pad.
Each pad's dimensions must correspond to its component. If two components share a pad—for example, a resistor and a capacitor—they cannot be properly aligned during assembly.
If a pad is significantly larger than the pad for one of its components, component tombstoning may occur due to uneven solder deposition.
If a dump or flat area is to serve as a contact point, a properly sized mask defining the pad must be present. If the device involves pads defined by non-solder mask layers for connection alongside pads defined by solder mask layers—such as a BGA matrix on a loose pitch where some adjacent outer balls share ground pours—the PCB manufacturer must not edit solder mask apertures for these solder mask-defined pads, as specified in the design notes.
17. Material Procurement Issues
Many PCB manufacturers now offer one-stop services encompassing PCB board design, material procurement, stencil fixtures, and PCB assembly.
However, if your components are not entirely supplied by the PCB manufacturer, you must provide parts in well-organized kits matching the BOM. All SMT components must be supplied in reel form, or as continuous tape rolls at least 6 inches long, or in tubular or tray packaging.
Each part number listed on the BOM requires additional components to account for assembly process losses. For example, the assembly workshop may require at least 10% or 20% more 0201 1k ohm resistors than specified on the BOM. Parts for each line item on the BOM must be placed in a clearly labeled bag, separate from other parts.
All ICs must be shipped in their original, unopened protective packaging containing desiccant.
Finally, the best way to avoid material issues: consult with the PCB factory before design begins. One-stop PCBA is also highly recommended.
18. DFM Check
A crucial method to ensure your PCB is error-free and functions seamlessly is to run a Design for Manufacturing (DFM) test. This test identifies any design flaws early on, preventing costly errors and delays later in the process. It effectively pinpoints issues such as component spacing, component polarity, and package verification promptly.
BenChuang Electronics produces customized PCB boards. Contact us and send your specifications.